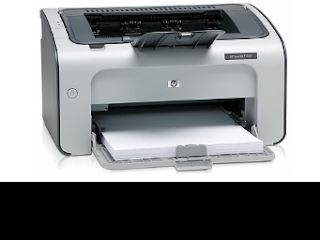
How to Install a Printer Step by Step Tutorial

Most printers are easy to set up by following the manufacturer's instructions and using the installation disc. The process is a little trickier if you're new to computing and don't have the CD or instructions any more. This beginner's guide will show you how to get your printer up and running.Install a HP Printer, Install a Dell Printer, Install a Intel Printer,
Use the Manufacturer's Instructions and Installation Disc :
Always default to the instructions and use the disc that came with the printer. If you've lost your printer's manual, try doing a Google search for the name and model of your printer (which you can find by looking at your printer) plus the word "manual" (e.g., "HP Deskjet 3050 manual"). Manuals Online also has a collection of printer manuals that may help.
The set up process is usually the same for most printers:
- Install the cartridges in the printer and add paper to the tray.
- Insert installation CD and run the printer set up application (usually "setup.exe"), which will install the printer drivers.
- Connect your printer to the PC using the USB cable and turn it on.
- Look in your printers folder on your computer (on Windows XP, go to "Start" then "Printers and Faxes". On Vista and WIndows 7, hit the Windows key and type "printers" into the search box to quickly get to the Printers section. For Mac, go to System Preferences and select "Print & Fax".)
- Print a test page. In Windows, right-click on the printer and go to "Properties" then click the "Print Test Page" button. On Mac, click on the "Options & Supplies" button, then the "Utility" tab and click "Print Test Page"
If all goes well, your test page will print and your printer will now be set up.
Leave Below Comments for any Help.
Category: Featured, Hardware, Installations, Recent
0 comments