Steps to Convert An Power Point 2010 Presentation to Video
This article will teach you explain to you how you can convert your Power Point 2010 presentation to a video, using below steps.
It is useful to convert your PowerPoint presentations to video because this way more people will be able to view it as it will allow without PowerPoint software to watch it as a video.
Follow these 7 steps:
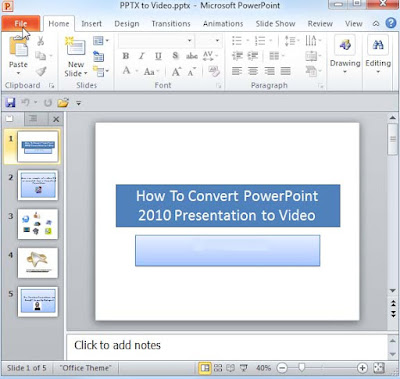
1. The first thing that you need to do is, select Backstage View from the File drop down menu.
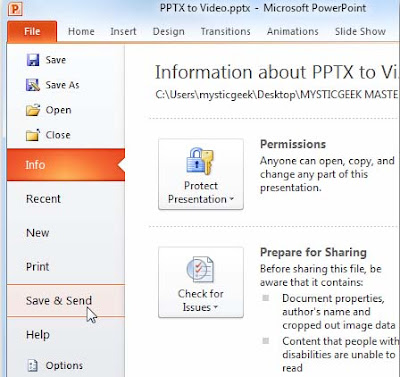
2. After you have opened the Backstage View, press the Select and Send option.
3. Once you have pressed the Send &Save button a number of options will be displayed in the File Types menu, select Create a video.
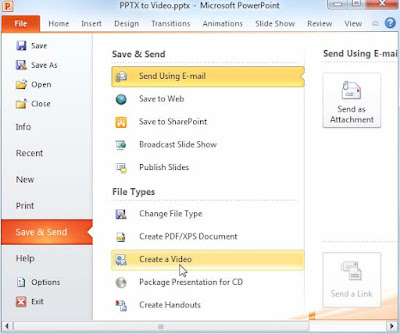
4. Once you have chosen to create the video, you need to select some other options such as the size of the file, recorded narrations and set the number of minutes which should elapse between slides and then press the Create a Video option.

5. Now that you have accommodated the view to your liking, all you have to do is designate a location for your video. In a corporate situation, it is always better to put it on a shared network drive.
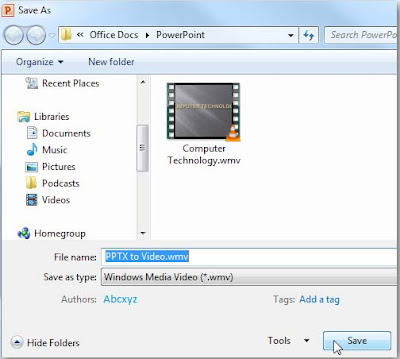
6. Now, that you have saved your video in your desired location, your file will start converting to the .wmv format. A progress bar will appear in the lower right corner of the PowerPoint presentation.

7. As all of the steps have been completed just turn on your .wmv compatible player and view your video.
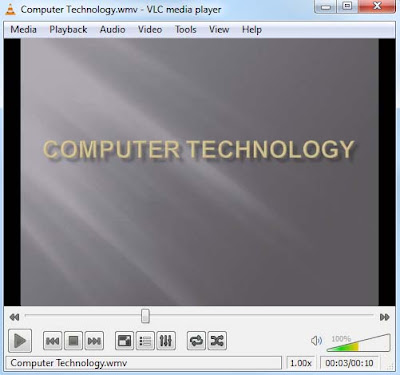
Other options to add to your PowerPoint presentation are adding transitions to slideshows and animating text and objects . If you edit your video via Windows Live Movie Maker you can upload it to YouTube.
Converting your PowerPoint presentation not only makes your presentations more accessible but it also allows you to watch your video in your desired .wmv player.
0 comments